The Complete Guide to Using Nail Drill Bits for Perfect Fingertips
I still remember the first time I tried to shape my own nails with a nail drill. I held the handpiece, chose a random bit, and just went for it. Ten minutes later, my nails were uneven, my cuticles were sore, and I had a deep groove in one nail that took months to grow out. I thought the tool was too aggressive for me.
Turns out, I just didn’t understand the bits.
Nail drill bits are tiny attachments designed to fit onto an electric nail file, and each one has its own special job—whether that’s shaping the nail, removing polish, smoothing surfaces, or tidying up cuticles. When you know which bit to use for which task, an e-file transforms from a dangerous gadget into the most powerful tool in your kit. Here’s how to use them to create flawless, perfect fingertips every time.
The Foundation: Understanding Bit Materials
Before you ever touch your nail with a spinning bit, you need to know what the bit is made of. The material determines what surfaces you can safely touch.
Diamond bits are coated with crushed diamond particles and work like a fine file, gently scratching and exfoliating the surface. These are the only bits that should touch your natural nail plate or skin. They’re perfect for cuticle work, natural nail prep, and gentle refining.
Ceramic bits are made of hard ceramic and generate less heat than metal bits, making them great for beginners or clients with sensitive nails. They’re ideal for removing gel polish and smoothing surfaces without creating uncomfortable heat spikes.
Carbide bits are the heavy-duty choice. Made of metal with “flutes” (cuts) carved into them, they shave through product like a cheese grater rather than grinding it down. They remove acrylic and hard gel quickly but should never be used on natural nails or skin—they’re too sharp and will cut you.
Choosing the Right Shape for Each Job
Once you understand materials, the shape of the bit tells you exactly where to use it.
Barrel bits are workhorses for removal and shaping. Their straight, cylindrical shape makes them ideal for uniform filing, shortening, and surface work. Use them for removing bulk product or shaping the overall nail structure.
Flame bits have a tapered, flame-like shape that allows access to delicate areas near the cuticle. They’re excellent for precision cuticle work, blending artificial extensions, and smoothing sidewalls.
Cone bits are slim and precise, perfect for prepping sidewalls and cleaning under the nails. Their sharply tapered shape excels at accessing hard-to-reach areas around and under the nail.
Safety bits feature a rounded, closed top that prevents accidental skin punctures. They’re ideal for beginners and for gentle shaping around the cuticle area.
Ball bits have a rounded, half-sphere shape that’s safe for cuticle massage and exfoliation. They’re perfect for removing dead skin around the nail bed and creating a smooth, even nail surface.
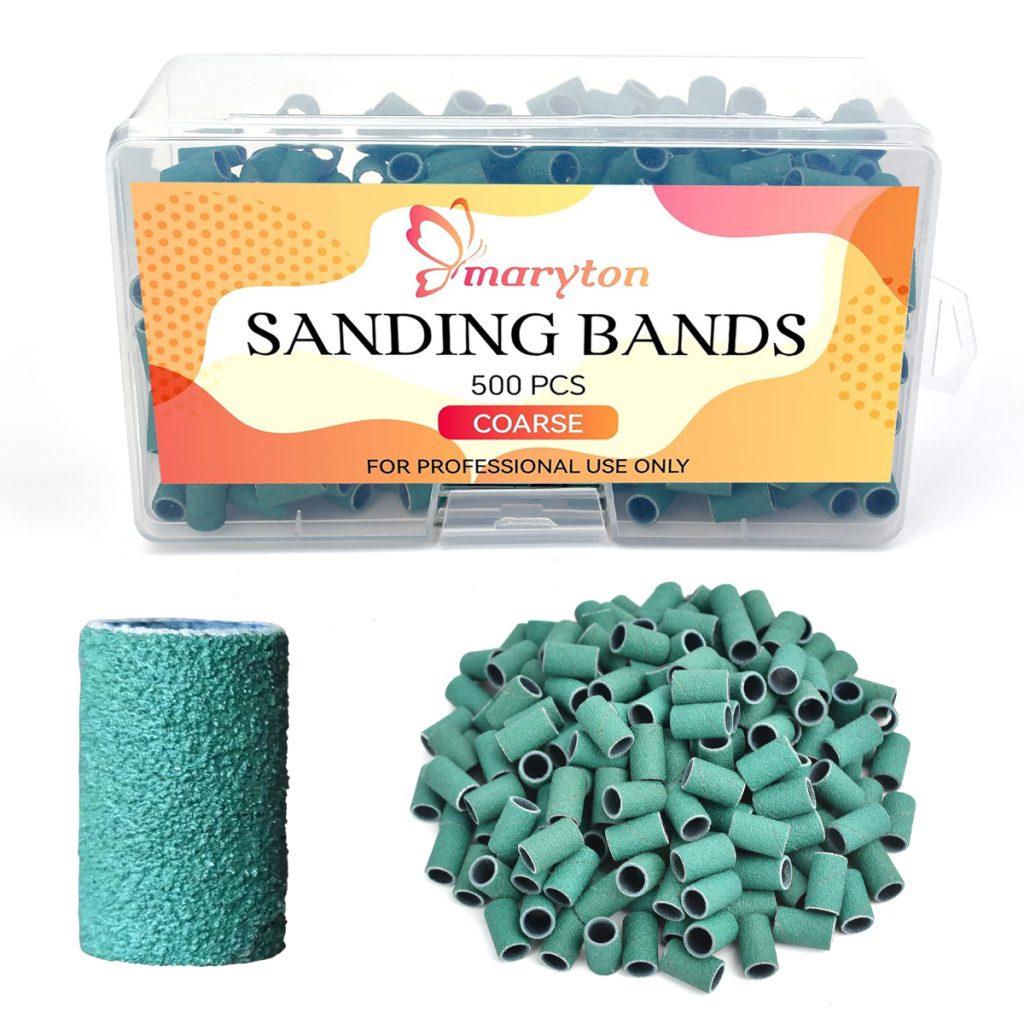
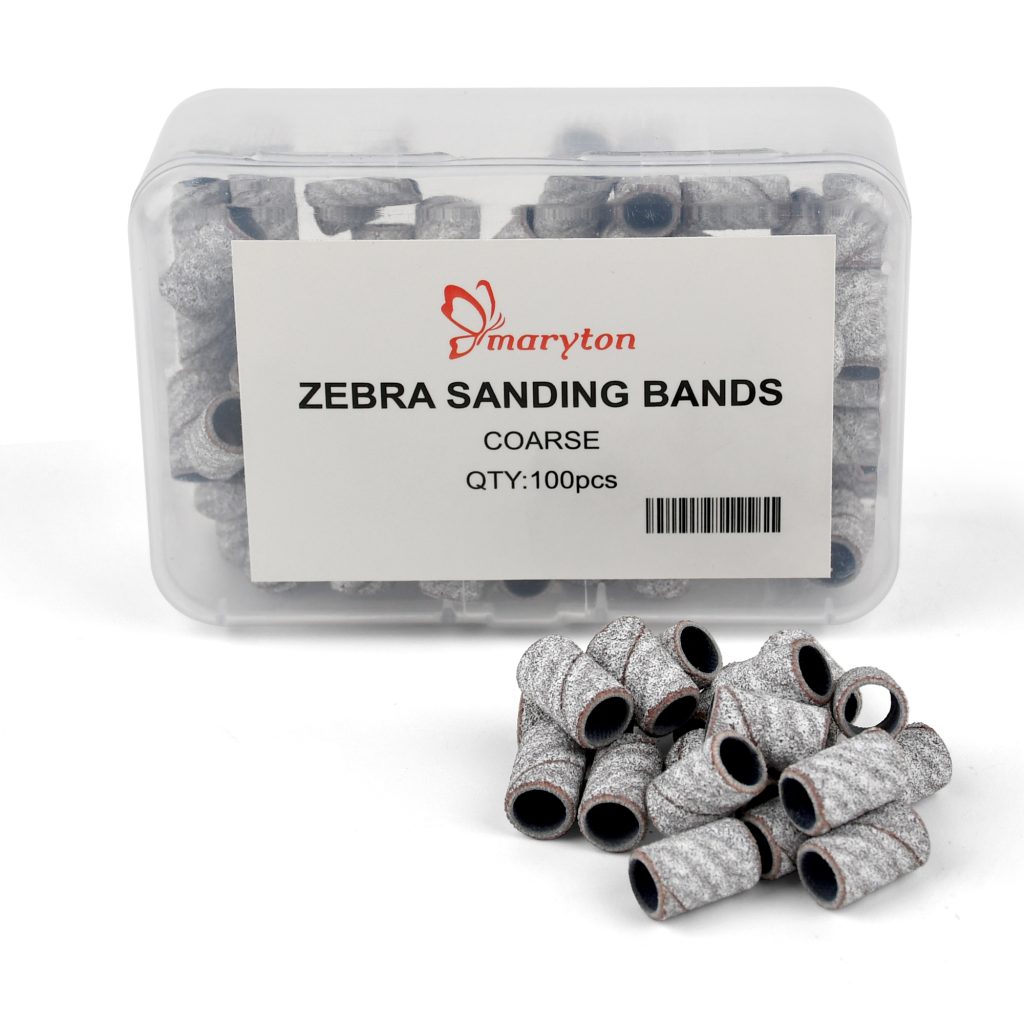
Mandrel bits hold disposable sanding bands, which can be swapped for different grits. They’re excellent for buffing the natural nail before application and for gentle surface smoothing.
The Safety Rules That Protect Your Nails
Using a nail drill is like learning to drive a car—the tool isn’t dangerous, but using it without basic safety rules is. Here’s what I wish someone had told me before I started.
Keep the bit moving at all times. Never hold the bit in one spot for more than a second. Constant movement prevents heat buildup and ensures even material removal. Staying in one place creates friction that can burn the nail or create deep grooves.
Use light pressure. The bit should glide effortlessly across the nail surface. Avoid pressing down hard. Let the e-file do the work—pushing creates heat and removes too much product too quickly.
Always start at low speed. Set your RPM to 5,000–8,000 for natural nail work, and only increase if needed. Higher speed reduces control and increases the risk of damage.
Hold the drill like a pencil. Grip the handpiece with your dominant hand and rest your pinky finger on your other hand or on the table for stability. This simple anchor dramatically improves precision and control.
Never use carbide bits on natural nails. Carbide bits are designed for removing acrylic and hard gel only. Even brief contact with the natural nail plate can cause permanent grooves and thinning.
The Golden Rule of Grit
Most professional bits follow a universal color coding system on the shaft that tells you how coarse or fine the bit is.
Fine grit (Red) is the gold standard for cuticle work and natural nail prep. It’s perfect for lifting the cuticle and cleaning the nail plate without being too aggressive. This is the safest choice when you’re near the nail plate or doing detailed work.
Medium grit (Blue) is a workhorse for controlled debulking. Great for removing soft gel polish and pushing back deeper cuticles.
Coarse grit (Green) is strictly for removing hard gel or acrylic product. Never use it on the cuticle or natural nail.
The simplest rule: if you’re unsure, choose fine grit first. Fine grit may take one extra pass, but it dramatically lowers the chance of heat and over-filing.
Step-by-Step: From Rough to Perfect
Now let’s put it all together. Here’s how to use the right bits in sequence to achieve flawless fingertips.
Step 1: Cuticle preparation. Choose a fine-grit diamond flame bit. Set your speed to 5,000–8,000 RPM. Hold the bit at a 45-degree angle to the nail surface and work from the sidewall toward the center in one smooth motion. Switch to a fine diamond ball bit to clean the thin membrane on the nail plate near the cuticle using gentle, circular motions.
Step 2: Surface preparation. Switch to a fine-grit diamond barrel bit or a 240-grit sanding band on a mandrel. Set your speed to 8,000–10,000 RPM. Make 2-3 light passes across the nail surface. You want to remove the natural shine, not dig into the nail plate. The nail should look matte and slightly frosted when done.
Step 3: Shaping the nail. For natural nails, use a fine sanding band on a mandrel. For acrylics or hard gel, use a medium ceramic or carbide barrel bit at 10,000–15,000 RPM. File in smooth, side-to-side motions, never staying in one spot.
Step 4: Smoothing and finishing. Use a fine cone bit to clean sidewalls and edges. For the final polish, switch to a silicone polisher or extra-fine sanding band to create a smooth, glossy surface.
The Bottom Line
Nail drill bits are tiny, but they’re total game-changers in nail care. Whether you’re perfecting your skills at home or working in a salon, the right bit takes your nails from basic to flawless in no time. The key is matching the bit material and shape to your specific task, always prioritizing fine grit when you’re near the natural nail, and never rushing the process.
A nail educator once told me: “The goal isn’t to own every bit. The goal is to build a repeatable, safe workflow.” Start with a few essential shapes in fine grit. Master those. Then expand your collection as your skills grow. Your fingertips will thank you.
Read also: The Ultimate At-Home Pedicure: Your Guide to the Deluxe 4 Pedicure Kit